Well I managed to get into it again today – thankfully the weather held out. Although we could still do with some more rain to be honest.
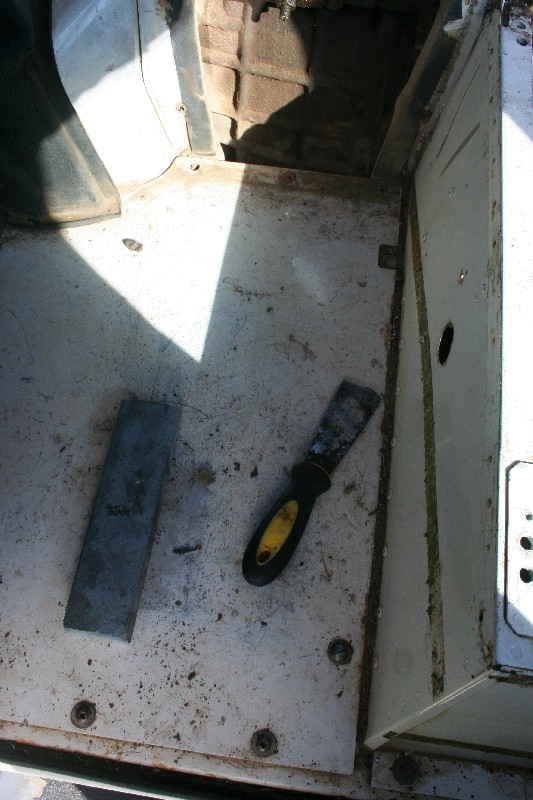
The first part was stripping back the basic coverings that were used from the factory. A little bit of vinyl (?) and that’s about it. It’s held in place by some sort of substance – glue I’m guessing?
Anyway to remove the substance is a pain in the bum, as it’s everywhere. I found that the steel scraper worked well, as long as you could sharpen it on the stone regularly – hence why it’s in the photo below! 😉
From there it was a half decent wash out with the degreaser and hose – it came up pretty good actually. It was also amazing how much mud and crap was on top of the chassis rails etc – it’s clean now!
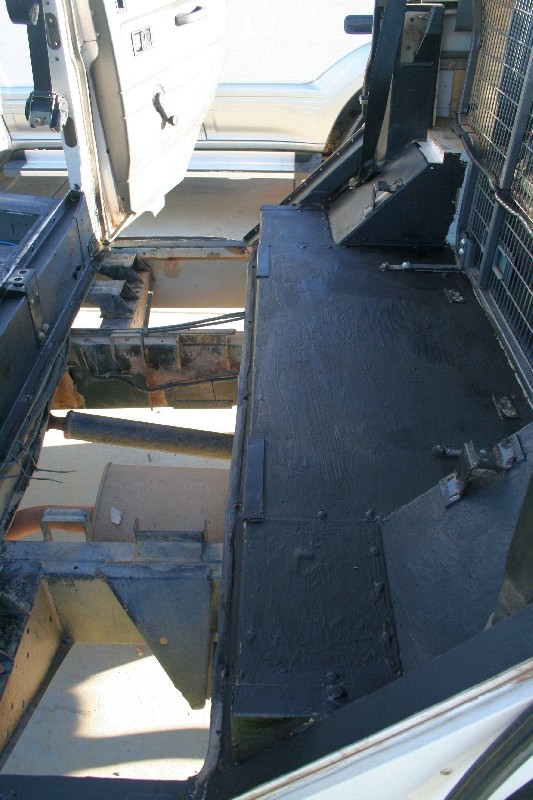
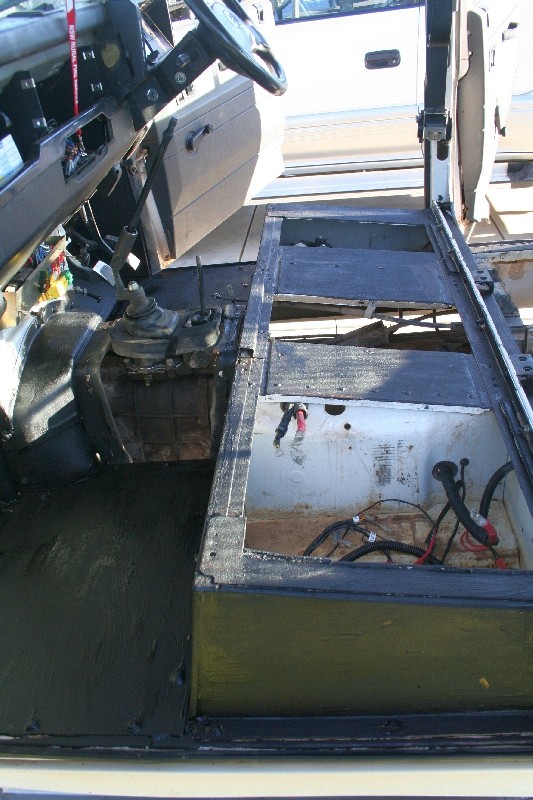
Then it was time to lay down the first layer. In this case I am using the ‘bitumen’ paint that I still had laying around from doing the inside of the guards a few months back. It’s primarily used for sound insulation underneath the body of the car – also has sealing properties for use in sand, mud etc according to the container.
Overall it is sticky crap but it doesn’t really matter in a Defender.
Last and not least I took the floor out of the back area where the kiddies sit. It served two purposes – 1. It enabled me to clean up the chassis rails/transfer case etc; and 2. I can paint it out of the car and then seal it properly with sealant when I put it back in.
The next plan is to put the floor back together and start laying the form shield down with contact glue……
Cheers
Chris


